
Wondering what soaking and sprouting is all about? Here’s a mini guide for the why and how to prep your seeds, grains, and beans this way in the comfort of your own kitch.
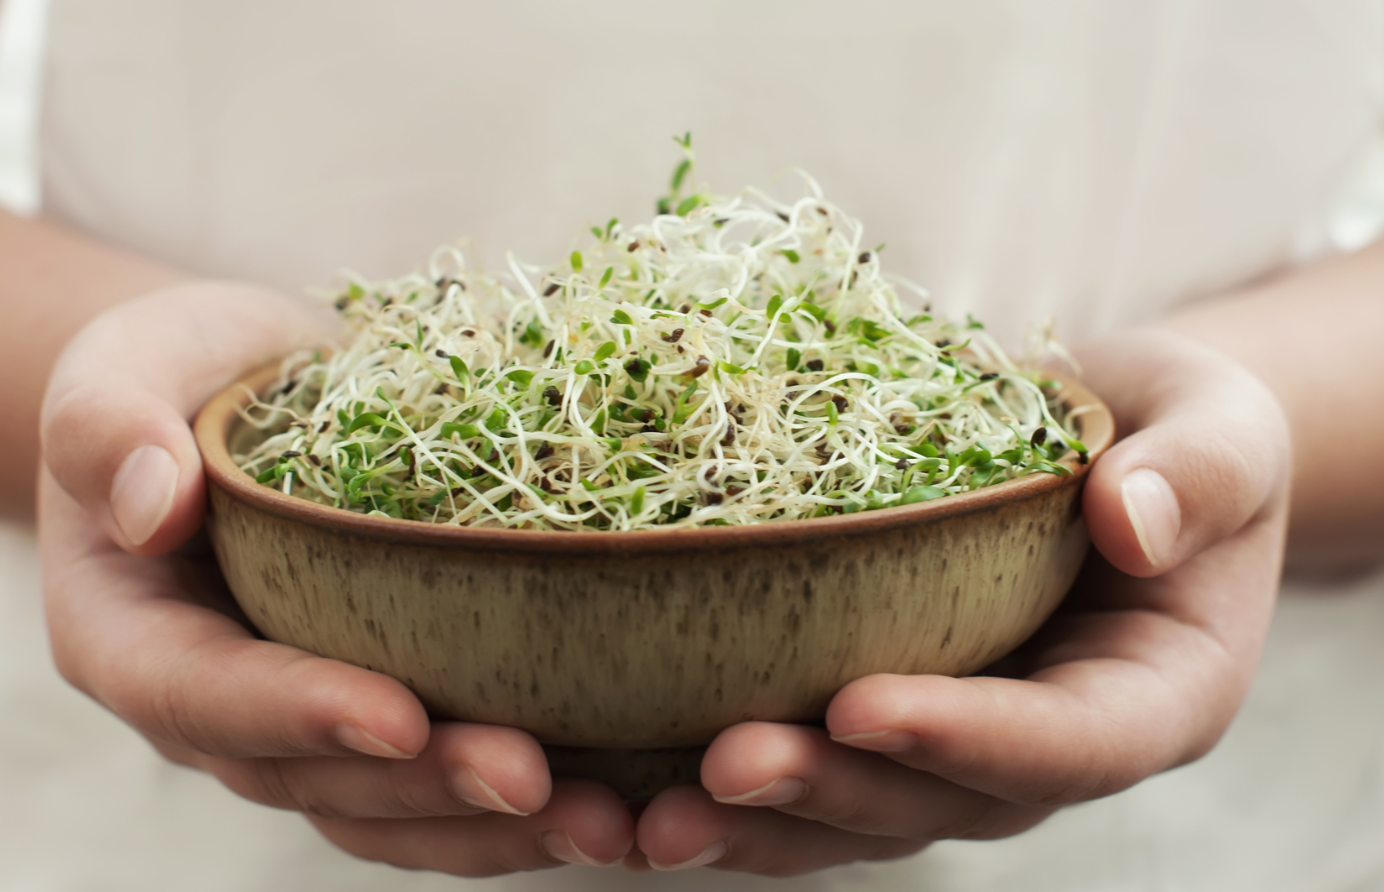
If you think of a sprout, the first thing that comes to mind may be the handful of little white stemmed, green leafed plants that often served as a topping option in many sandwich shops. And you’re not wrong!
Sprouts are nutritious little greens that can be enjoyed in several ways. You can find them at many stores, but you can also make them yourself at home.
Here are the basics of soaking and sprouting to help get you started!
What is sprouting?
Sprouts are germinated seeds (or baby plants), so sprouting is the process of growing these.
All this means is that the seed has put out a shoot. This is similar to an existing plant growing a new sprout from its stem, except you’re starting with the initial seed. Some common commercial examples include alfalfa sprouts, mung bean sprouts, and wheat grass.
Seeds, grains, and beans work best for sprouting. You can do it at home in just a few simple steps, which involves a soaking process to encourage the seed, grain, or legume to sprout.
But first, you may be wondering why sprouts are good for you.
Benefits of soaking and sprouting
The main benefits to soaking and sprouting are that it can increase nutrient bioavailability and digestibility.
Legumes, nuts, and seeds contain compounds that can compete with your absorption of other nutrients in the plant, particularly minerals like calcium, copper, iron, magnesium, and zinc. Some of these anti-nutrients include phytic acid (or phytates), oxalic acid (or oxalates), and lectins.
Soaking has been shown to reduce anti-nutrient content in certain legumes and seeds, but how much depends on the type. For example, a 2018 comparative study found that soaking soybeans and other common beans in distilled water before cooking them significantly reduced oxalate and lectin content, but didn’t impact phytic acid.
A 2019 study found that sprouting chickpeas and green peas on an industrial scale reduced phytates without significantly impacting their nutritional quality otherwise. But another study found that lentils not only lost anti-nutrients but also gained amino acid and antioxidant content after they were sprouted. Whole rice flours have also been shown to lose phytic acid, but gain antioxidants after germination. The iron bioavailability of some whole grain flours may also get a boost after sprouting.
Furthermore, certain sprouted grains have been found to contain more protein than their unsprouted counterparts. A 2017 study found that essential amino acids significantly increased following germination of wheat, brown rice, and triticale seeds.
Even commercial products, like tofu and soy milk made using sprouted soybeans, have been shown to contain more protein and significantly fewer anti-nutrients than their unsprouted counterparts.
In terms of digestibility, sprouting seeds can also increase the availability of fiber. An older study found that sprouting beans over 5 days increased their fiber content by 133%. Sprouting grains may also reduce gluten content, which may make them easier to digest for people with gluten sensitivity.
Keep in mind that anti-nutrients are at their highest when legumes are in their raw, uncooked form… and I don’t know anyone who enjoys a big bowl of uncooked kidney beans as part of their diet. Still, soaking and sprouting can reduce anti-nutrients and improve the bioavailability of other nutrients in the plant.
How to grow sprouts at home
Ready to sprout in your kitchen? Here’s how you can do it:
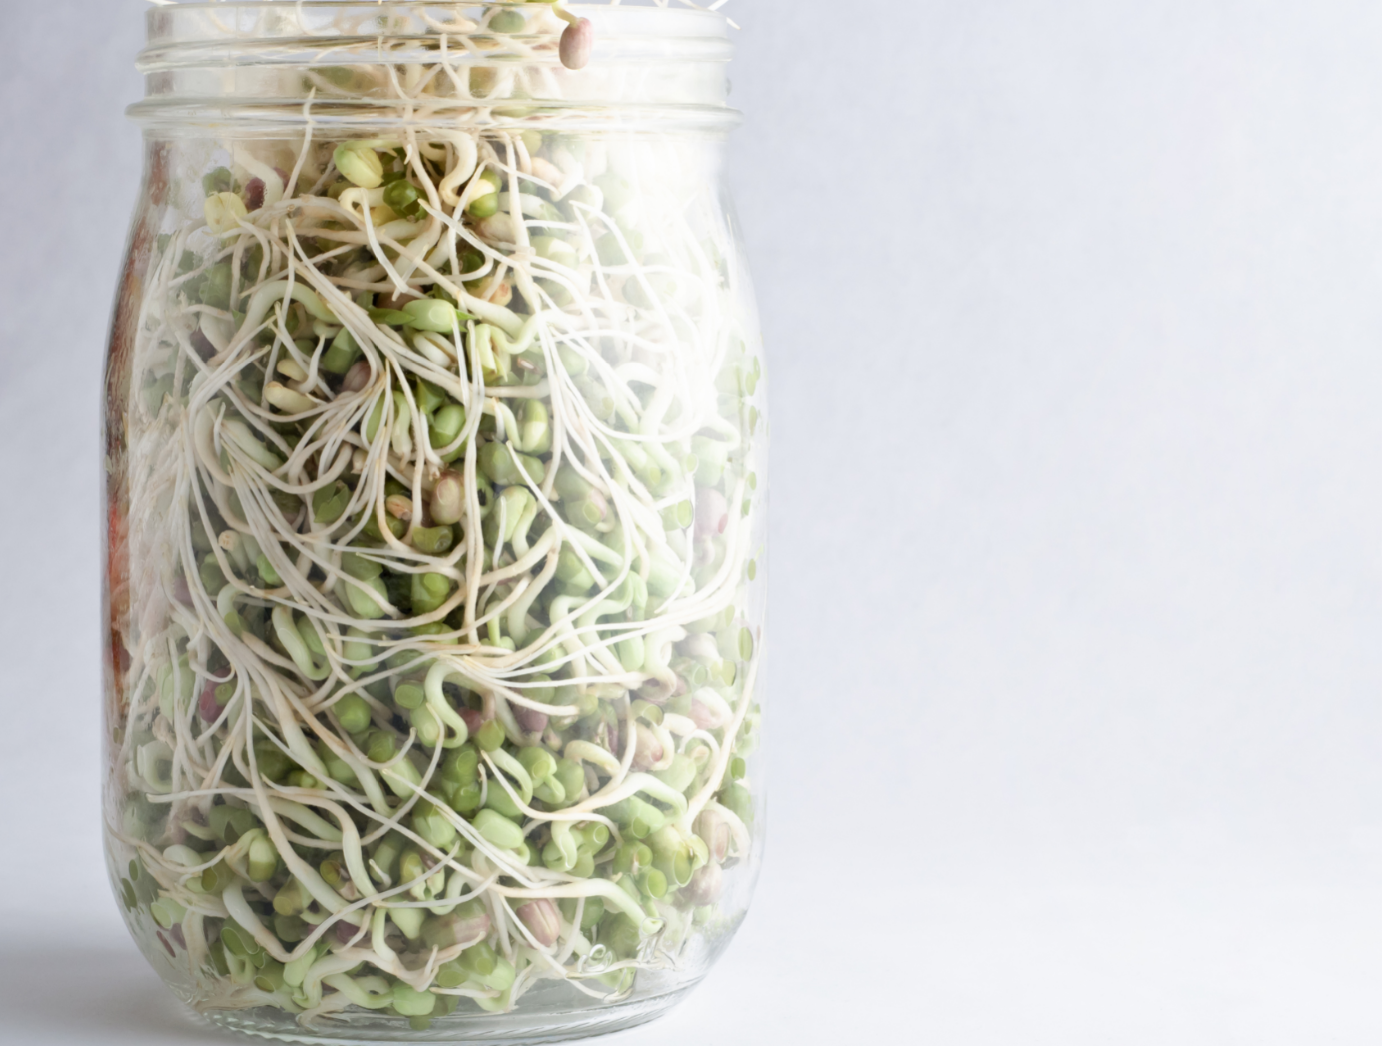
First, get yourself some proper sprouting equipment. This could be an official “sprouting jar”, which comes with a ventilated lid and possibly even a stand. It could also mean a mason jar with a sprouting lid, or lid you’ve poked ventilation holes in yourself, or a piece of cheesecloth secured with a rubber band if you’re sprouting tiny seeds. They all serve the same purpose and there’s no wrong way to do it (as long as you’re practicing food safety).
To soak and sprout:
- Start with raw legumes, like chickpeas or navy beans, grains, or seeds. The fresher you can find them, the better outcome you’ll probably have. You can usually find bags of hard, dried beans (or grains, or seeds) in the bulk section or pasta and canned goods aisles at most grocery stores.
- Thoroughly rinse your seeds and place them in your clean, sterile jar. Cover them with filtered water that rises above them by 2-3 inches. Cover your jar with the top you’ve chosen.
- Leave the legumes on the counter to soak overnight in an upright position, or around 8 hours.
- From here you can cook the soaked beans or grains if you’d like. If you’re going to sprout them, then drain, rinse, and drain again. Then stabilize the jar in an upside-down position so that any excess moisture will exit, like inside of a small bowl that will catch any liquid. Once it stops dripping, flip the jar upright again, as you don’t want the seeds to be totally dry. It’s best to keep them out of direct sunlight.
- Rinse and drain with new filtered water every 8-12 hours. They should start to sprout within a few days. Continue to rinse and drain as before, until they grow to be around 1-2 inches in length.
- When your sprouts are ready, rinse and drain them one last time. Then, transfer them to a covered container and store in the refrigerator for 5-7 days. The sooner you use them, the fresher they’ll be!
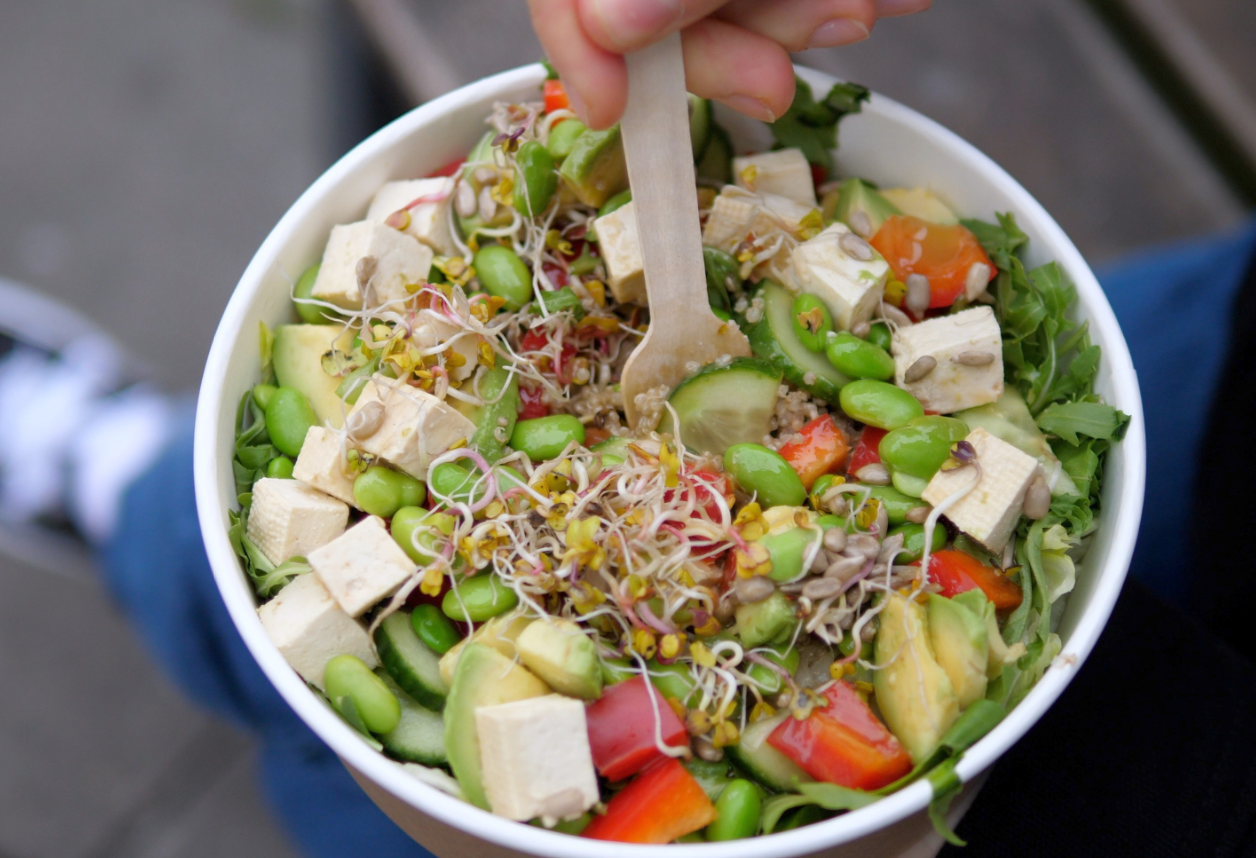
Sprouts can be eaten as-is, added to salads, used as sandwich and wrap fillings, or even added to warm dishes like soups and omelets or quiches.
Food safety precautions
In recent years, sprouts have been labeled a high-risk food by the FDA. This is because they have a history of causing foodborne illness outbreaks in the United States, including Salmonella and Escherichia coli. In fact, according to the CDC, between 2013-2017 there were 12 outbreaks that resulted from people eating sprouts.
Why is this? There are a number of opportunities for sprouts to become contaminated during their sprouting process. For instance, commercial sprouts grown in large fields can be contaminated by irrigation water, manure, wildlife, or unsanitary field worker practices. They may also be exposed to germs during transport. Grown at home, similar risks apply. Sprouts could be contaminated by unsterile surfaces and equipment, dirty hands, or pets in your home.
Plus, the ideal growing environment for sprouting – room temperature with plenty of moisture – is also the ideal environment for microorganisms to grow.
To help reduce your risk for contamination:
- Only buy sprouts that are kept refrigerated
- Make sure store-bought sprouts don’t contain slime, mold, are limp, or smell weird
- When sprouting at home, wash your hands thoroughly, disinfect surfaces, and sterilize all kitchen tools and sprouting jars beforehand
- Store sprouts in clean containers at 40°F or below in the fridge
- Before eating sprouts, wash them directly under cool running water
For the average healthy person, the benefits of eating sprouts will outweigh these risks. However, if you are pregnant or fall into a higher risk category, such as the elderly or immune-compromised populations, it may be best to avoid eating sprouts, especially raw.
5 Usually Healthy Foods and Activities that Are Unhealthy During Pregnancy >>
Short-cuts to soaking and sprouting
Don’t have the time (or desire) to grow your own sprouts at home? No problem!
There are a number of products available that are already sprouted or use sprouted legumes and grains as the main ingredient, offering the same nutritional benefits with the addition of convenience.
Some of my favorite brands making sprouted products like bread, pasta, bagels, and cereals include:
Whether you want to purchase pre-sprouted products or grow them yourself, I hope this gives you a good place to start. Keeping food safety practices in mind, you can easily grow a variety of sprouts in your own kitch – and enjoy the improved nutrition and digestibility they offer!
Weigh-in: Have you tried soaking and/or sprouting legumes before? Share any tips you have in the comments!
For more nutrition how-to help, check out some of these posts:
– Whitney
IF YOU’RE INSPIRED BY THIS POST MAKE SURE TO SNAP A PIC
AND TAG #WHITSKITCH – I’D LOVE TO SEE!